Pixum Wall Art Tips & Tricks
Create beautiful picture wall with memories worth printing.

Create beautiful picture wall with memories worth printing.
As soon as you want to hang your Pixum Wall Art up on the wall, you will need a wall mount. Pixum offers you a wide range of options, depending on the weight and type of the selected wall art. When ordering via the Pixum Photo World Software, you can easily select it in the editing mode.

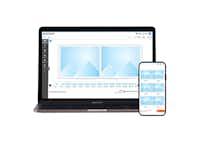
First, open your wall art project in the Pixum Photo World software. In the left navigation bar, switch to the tab "Picture hangers". Here you will see all the wall brackets that you can choose from. The selection varies depending on the product & size selected. In this case, for example, only the screw and the clamping systems are available, because the rail system and the mirror plates cannot be combined with the gallery print because of its solid weight.
Click on the desired wall mount and drag it over the photo whilst holding down the left mouse button, right onto the editor area. The selected bracket is now displayed below your Wall Art, and in the editor window you will see the corresponding placeholders for the visible parts of the bracket in front of visible wall brackets (e.g. the screw system).

If you select the placeholder with the red cross or do not explicitly choose a wall mounting kit, your new wall art will be delivered with no wall mount. Please note that you cannot retrofit a wall mount with some wall prints, such as the Gallery Print or Aluminium Print, since one cannot pierce the material without a special tool and without causing damage to the piece!

